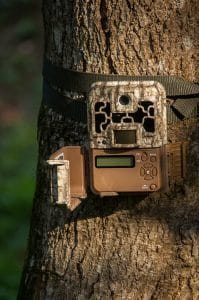
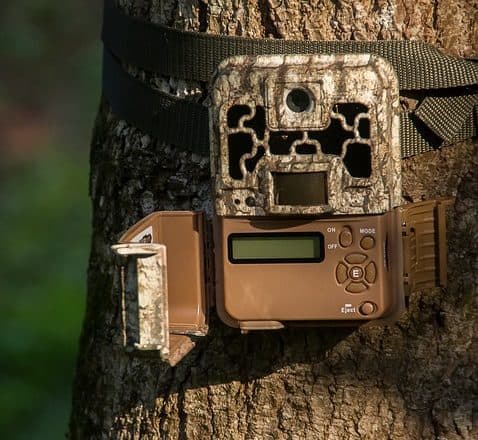
Of all the hunting gear you should have, perhaps none is as important as a trail camera. This device has taken hunting game to another level by enabling hunters to locate the best spots for locating their targets. However, simply buying the best trail camera and strapping it on a branch doesn’t guarantee anything. There are many aspects to consider when using these cameras.
If used strategically, a trail camera could lead you to your next big trophy. If deployed without a plan, it will become another piece of hunting gear that did not live up to the hype. If you want to get the most out of your trail camera’s capabilities, consider the following details;
Trail Camera Checklist
Ensure Camera’s Firmware Is Up-To-Date
Just like any other digital devices such as your PC and laptop, your trail camera runs on firmware. When the firmware is healthy, your device will run smoothly.
Wie man bei einem Bodybuilding-Training gegen Muskelgruppen arbeitet eli 20 und trainingsplan bodybuilding & gesundheitstipps & infos, transformationen & diätpläne healthkart.
However, it is hard to find a digital device with a firmware that doesn’t get bugs and need fixes. When the product is used by many people, they will encounter different problems and send these bug reports to the manufacturer. The manufacturer uses this information as well as trail camera reviews by customers to come up with a newer firmware that fixes these bugs.
It is, therefore, important to download the newest version of your trail camera’s firmware so that you don’t get bugs like other users. To get the latest firmware, visit the official website of your manufacturer regularly to check whether there is a newer version.
Monitor the Direction of the Wind
Some wild animals don’t prefer moving against the wind, and therefore, you may want to study them to know their pattern. You may set your trail camera and fail to capture photos for several days because of this factor. To study your target animal, position some flagging tape in the background of your camera position. This will help you detect the pattern.
You may find that some target animals don’t approach your camera location unless the wind is blowing in a certain direction. The flagging tape makes it easier for you to determine the direction of the wind that your target seem to prefer. This will help you know the locations where you need to hunt.
Position Your Trail Camera Appropriately
 The location you put your trail camera plays a major role in determining the number of pictures you will get. Therefore, make sure you know where to aim your camera at.
To position your camera rightly, you need to aim towards the South or North poles. In all circumstances, never place your camera with the lens facing towards West or East, to prevent the lenses from getting damaged by harsh sunlight or creating bad pictures because of excessive light exposure.
Also, you need to angle your camera in a way that it has a wider window to capture motions and movements in its field of vision.
Align Your Camera’s Angle with the Trail
Aligning your camera angle with the trail will give its motion sensors more time to trigger. This will improve the chances of capturing images of your target animal. This is because your target animal will walk within the range of motion sensors for a longer time instead of only crossing the camera’s field of view.
This will improve your chances of capturing an image of your entire object instead of only capturing a part of it. However, this might not work well if you are trying to cover a specific target such as scrape or feeder.
Use Trail Modes and Time Lapse Simultaneously
By being able to use this advanced setting on your camera will help you capture the movement of your target object that is coming towards your field of vision.
You need to change your camera settings to the time lapse. This will enable your camera to capture the area and surrounding landscape. Depending on your camera settings, it will take one picture in every 20-30 seconds. After capturing the images for a day, you can look back at your images and analyze the normal routes of the animal you are hunting. Time-lapse mode saves a lot of energy for your batteries as well.
Keep Scent at a Minimum
Some animals are scent-sensitive and will avoid a route because of certain scents. You can reduce your scents by wearing rubber boots when going to check your trail cameras, checking your cameras on rainy days, wearing scent-free gloves while handling your camera, and applying scent eliminator to your trail camera.
Check the Glare
Excessive glare can ruin your camera images, and this can happen regardless of the direction your camera is pointing. You can solve this problem by position your trail camera a little higher than normal on a tree. Also, wedge a branch behind it to ensure your images are taken at a downward angle. This will help ensure that glare from the sun will not affect your camera’s image quality.
Above All, Be Patient
One of the common mistakes new users of trail cameras often make is checking images too frequently and too early. You cannot get the pattern of your target animal after some four or five photos right away.

Moreover, frequent visits to the area you set your trail camera in may make your target animal to notice human activities, and this will drive them away.
Therefore, you should come to check your camera after two weeks or so. Also, you can go wireless whereby your camera sends images to you at some time of the day.
The Bottom Line
Trail cameras can be an essential scouting tool as they can help you piece together an animal’s habits and offer in-depth insight. Trail cameras aren’t magic, but with the above techniques, you can be more successful with them.

Leave a Reply