Trail cameras are great for tracking and surveillance. Whether you just want to keep an eye on your home or you want to observe wild game in their natural habitat, trail cameras are valuable tools – when used correctly. If you’re new to using trail cameras or if you’d just like to see better results, check out the following 10 trail camera tips:

1. Keep Your Firmware Updated, Your memory Card Formatted, and Your Batteries Charged
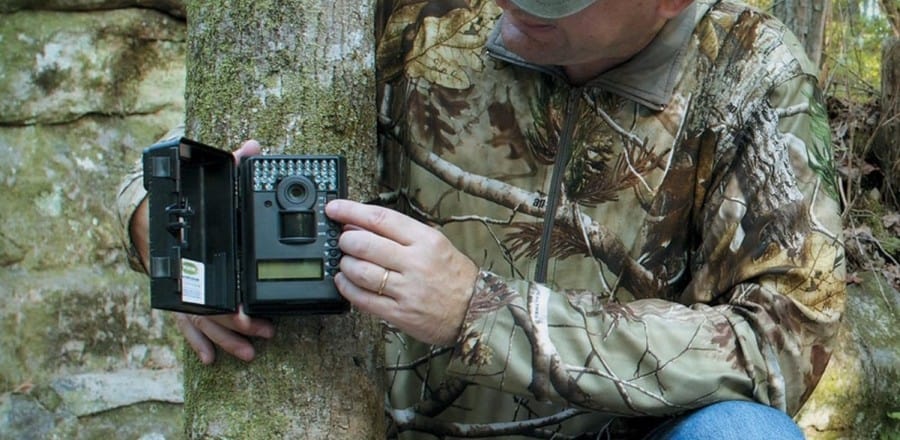
These three simple tasks are easy to do and immediately give you better results. The firmware is technology provided by the trail camera’s manufacturer. It’s updated occasionally to make the camera operate better. Update the firmware before mounting your trail camera by connecting it to your computer and following the instructions in the owner’s manual. You should also format (erase the data from) your SD card after you download the photos and videos to your computer. Lastly, make sure your batteries are fully charged before mounting your game camera.
2. Mount the Trail Camera Securely and Strategically
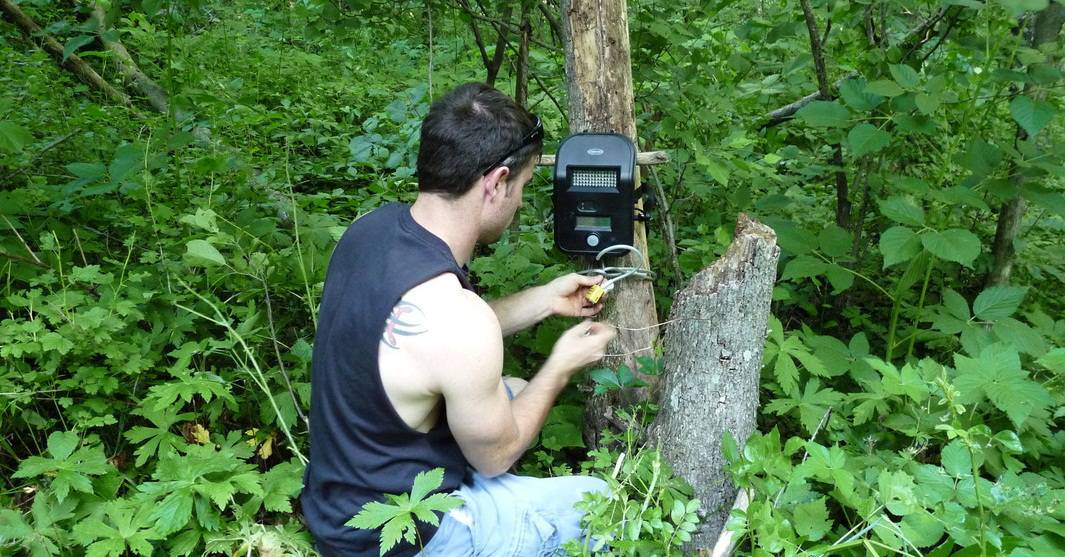
The trail camera must be secure enough to stay in place despite the weather. The lens must be unobstructed and you should take a few test photos as soon as it’s mounted to make sure you’re getting the view you want. It’s best to mount the camera slightly higher than eye level, and you might want to put it in a lock box specifically designed for trail cameras. Record the GPS coordinates of the camera and point it either north or south if it’s outdoors to avoid sun-washed photos.
3. Place Your Trail Camera Near Bedding Areas and Scrapes
How do you know your trail camera is at the right deer hunting spot? Look for bedding areas or fresh scrapes near rich food sources. You can also create your own. It’s important to be scent-free when you visit the area (see Tip #4). Wait a few weeks before returning to the area to check on the camera.
4. Eliminate Scents and Sounds
The advantage that a trail camera gives you is nullified if you make a scene when you’re mounting and checking it. Try to go to the location on rainy days to shroud the sound of your walking. Always wear clean clothes that were washed with a scent-free detergent, and cover yourself and the area in scent eliminator. Wear rubber boots because they don’t absorb smells easily, and go to the area as little as possible.
5. Use a Combination of Modes
Many trail cameras have three or more modes, and you could be limiting yourself by not using all the tools at your disposal. Camera and video mode need no explanation, but have you used time lapse mode? This feature enables the camera to take photos at specific intervals. Rapid fire mode will take up to 8 images in just a couple of seconds. Multi shot mode is similar but there is a larger interval between each shot. You can also adjust settings like camera pixilation and detection range/field of vision on many cameras.
6. Stay Organized
Use the information stamped onto your trail camera’s photos and videos (date, time, temperature, etc.) to document the movement and habits of your targets. Have two SD cards for each camera so when you remove the full one you can take it home and use the other memory card to keep your camera active. Know the GPS coordinates of your trail camera in case you concealed it too much for your own good.
7. Be Patient
Resist the urge to visit your trail camera too often. You can track individual targets and groups over time to learn their patterns. It could be weeks before your camera yields useful results. If you get impatient you run the risk of contaminating the area with your scent. If you need to see the results instantly then buy a cellular game camera (see Tip #9).
8. Use Black Flash Trail Cameras for Better Nighttime Results
If you’re using a trail camera with an incandescent (white) flash you might be getting some nice full-color shots, but the bright lights might be scaring animals away. Infrared LEDs work well, but they are still noticeable and nighttime photos sometimes appear grainy or washed out. Black flash trail cameras take clear nighttime photos and videos, and the illumination is all but invisible to people or animals. This means whatever is in the area will feel comfortable, providing you with more useful pictures and videos.
9. Consider a Cellular or Wireless Trail Camera for Faster Results
Wireless and cellular trail cameras may be better for individuals who are unable to visit the camera’s location regularly and/or want to see images/videos as soon as the camera is triggered. Some game cameras use a Wi-Fi network or a cell phone-like connection through AT&T or Verizon to transmit info wirelessly to your phone or email. If you need instant remote access to the trail camera then you’ll see better results from wireless or cellular trail cameras.
10. Be Aware of Your Trail Camera’s Specifications
If you want better trail camera results, it might be time to reevaluate which camera(s) you use. If you’re continuously receiving photos of a deer’s rear end, you might need a camera with a faster trigger speed. If you know there are animals in the area, ask yourself if your camera’s detection range and field of vision are sufficient. If animals seem to be spooked by your camera’s incandescent flash, consider upgrading to an infrared or no-glow trail camera. Do you know how to use video mode, time lapse mode, or other programmable features? Read the owner’s manual thoroughly to get the most out of your game cam.
Conclusion
We’re confident that you will see better results by implementing these 10 trail camera tips. You don’t have to settle for low-quality images that only catch the back half of the deer and require a two-mile hike to retrieve. Let us know how these 10 tips have worked for you, and we’d love to hear about any more trail camera strategies that you’d like to see added to this list.

Maxine says
Our card says it is full bot no pictures come up on the computer